
Gray Zone Warfare The Stand: All Four Squad Locations
Gray Zone Warfare The Stand guide: find all four PMC squad members near Pha Lang Airfield, follow the market route, and check quest progression for Gunny.
Jump to
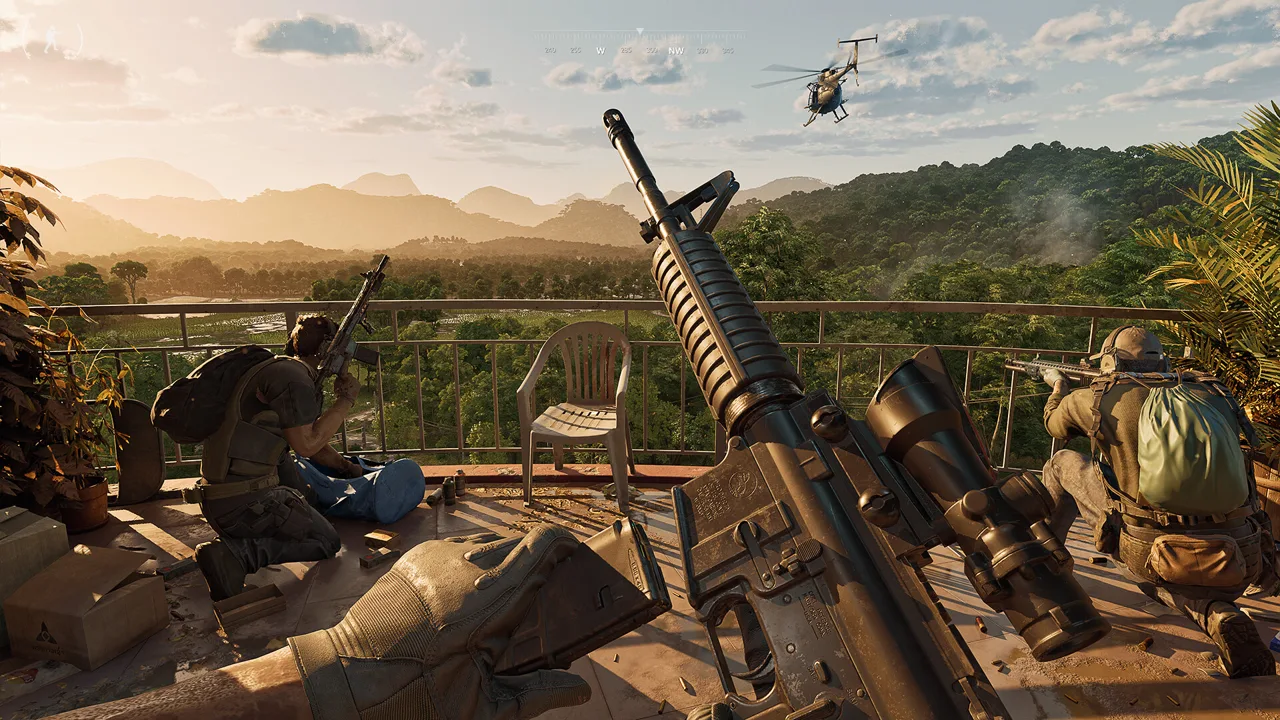
Where to Go for Gray Zone Warfare The Stand
Four missing PMC squad members are clustered around the market at 174, 157, near Pha Lang Airfield. Gray Zone Warfare The Stand sends you there for Gunny to uncover what happened to the squad, so focus your search on the truck, nearby building, and eastern shack. This Gray Zone Warfare The Stand walkthrough connects those landmarks into a straightforward sweep that helps you account for everyone without searching the entire airfield.
The location walkthrough below covers the task introduced in Update 0.2, with its Pha Lang Airfield placement also applying to Update 0.4. Update 0.5: Rogue Ops is now live; its combat and medical changes are covered separately below.
| Quest detail | Information |
|---|---|
| Task name | The Stand |
| Vendor | Gunny |
| Area | Pha Lang Airfield |
| Search location | Market |
| Map coordinates | 174, 157 |
| Objective | Uncover what happened to the PMC squad |
| Introduced | Update 0.2 |
The important distinction is between the broader destination and the actual search area. Pha Lang Airfield identifies the location associated with the task, while the market coordinates narrow your search to the squad’s positions.
Use 174, 157 as your starting reference, then navigate by the landmarks. The squad members occupy separate spots around the road, including indoor locations. Arriving at the coordinate alone does not give you the full picture of where to look.
For Gray Zone Warfare The Stand, keep this simple mental checklist: one squad member beside a truck, one inside a nearby building, and two inside a shack across the road.
Official page: Gray Zone Warfare (grayzonewarfare.com)
Find the Market and Identify the Three Search Stops
Start by locating the market at 174, 157 on your map. Once you reach the area, identify the road and the truck before moving between buildings. Those landmarks give the search a clear starting point.
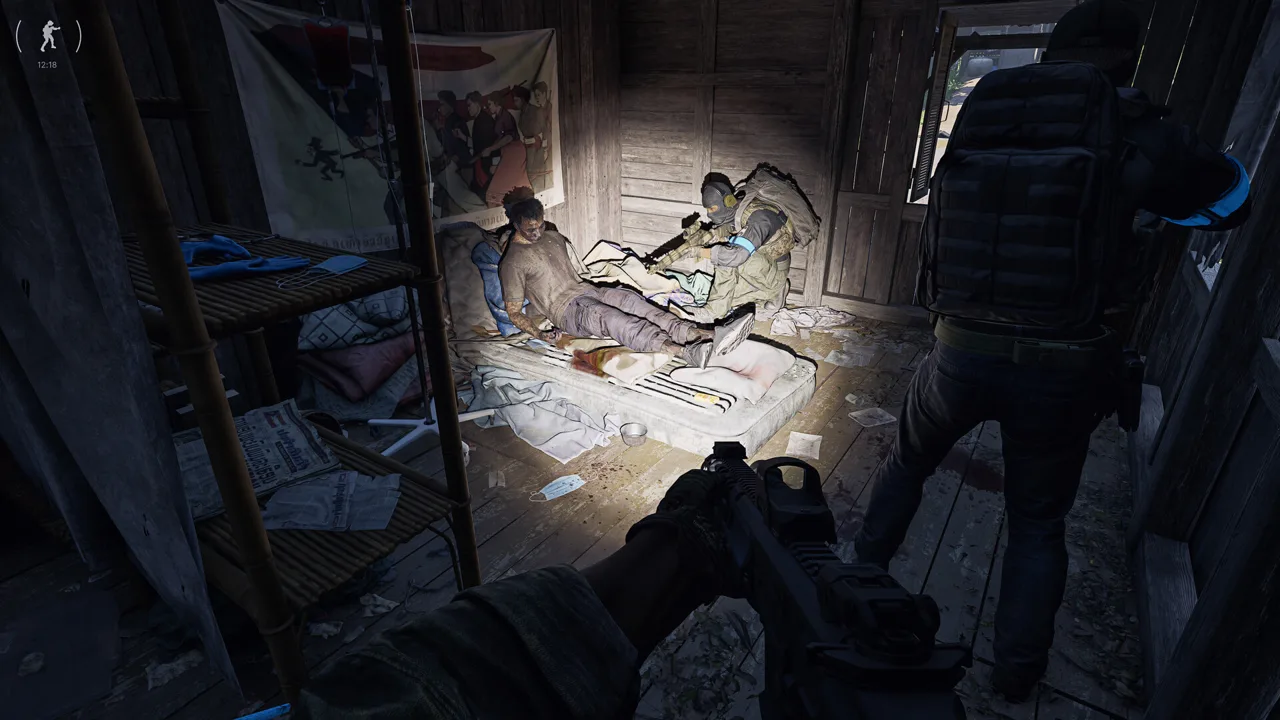 Image: Steam / MADFINGER Games, a.s.
The four squad members are distributed across three stops. That makes the shack especially easy to misread: it contains both the third and fourth members, so your search there needs to account for two people.
| Squad member | Search stop | Position |
|---|---|---|
| First | Roadside truck | Beside the truck on the road |
| Second | Nearby building | Inside the building toward the back right when facing into the area |
| Third | Eastern shack | Inside the shack across the road |
| Fourth | Eastern shack | Inside the same shack as the third member |
Use the building’s “back right” description as a local visual cue. It depends on your facing direction. The east side of the road, by comparison, gives you a compass-based reference for finding the shack.
Keep those two kinds of directions separate while navigating. If you approach from another angle, establish the truck and road first, then orient yourself before following the building description.
The search sequence for Gray Zone Warfare The Stand is easiest to remember as truck → building → eastern shack. Follow that order to keep track of which positions you have checked.
Before crossing the road, pause somewhere protected and identify your destination. Make the crossing with the shack already in view instead of stopping in the road to decide where to go next.
The Stand Walkthrough: Search Every Squad Position
Work through the locations deliberately. The objective concerns the squad as a whole, and the final search stop contains two members.
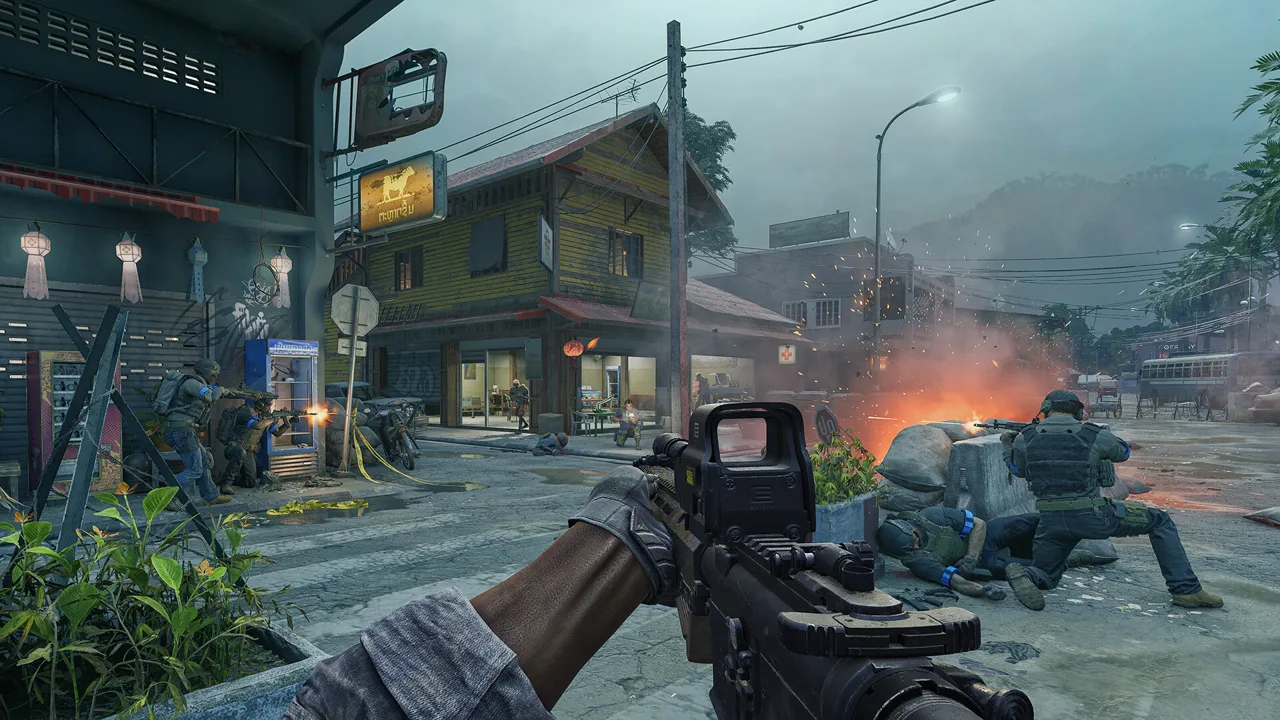 Image: Steam / MADFINGER Games, a.s.
1. Check beside the truck
At the market, find the truck positioned on the road. The first squad member is beside it.
Search around that landmark before widening your attention to the surrounding buildings. Starting here gives you a recognizable point to return to if you lose your bearings during combat or movement.
Keep the roadside position distinct from the indoor stops. Once you have located this squad member, move your attention to the nearby building rather than continuing to circle the truck.
If you are playing with teammates, use the truck as a shared callout. Tell the squad which location you are checking so everyone can follow the same search sequence.
2. Search the building toward the back right
The second squad member is inside the building toward the back right when facing into the search area.
Orient yourself before committing to a doorway. The description is relative to your view, so use the road and truck to establish the scene first. Then check the building’s interior.
Move carefully through the entrance and avoid letting the search pull your attention away from your surroundings. If enemies interrupt the approach, deal with the immediate threat before resuming the search.
Once you locate the second member, mentally close out this stop. You still have two squad members to find, but both are at the next location.
3. Cross to the shack east of the road
The third and fourth squad members are inside the shack on the eastern side of the road.
Use your compass or map orientation to identify east, then locate the shack across from the earlier search area. This is the last stop in the route.
Check the interior for both squad members. Finding one person here leaves another position in the same building to account for. Keep searching the shack until you have located the pair.
This is the detail to remember if Gray Zone Warfare The Stand has you retracing your steps: four squad members, three search stops, two people in the eastern shack.
4. Review the task before leaving the area
Open your task panel after checking all four positions. Read the current objective and use its status to decide whether you are ready to leave.
If you still need to search, retrace the route in the same order:
- Revisit the roadside truck.
- Check the nearby building’s interior.
- Return to the eastern shack and account for both members.
Keep the sweep focused on those landmarks. Repeating a structured route makes it easier to spot a missed position than wandering between unrelated buildings.
For your final visual check, remember the two indoor stops. A roadside search alone leaves out the building containing the second member and the shack containing the remaining pair.
Prepare for the Search in Update 0.5
The older location walkthrough and the current combat systems need separate attention. Gray Zone Warfare The Stand takes you into a compact search area, while Rogue Ops changes how you handle injuries and enemy pressure during the trip.
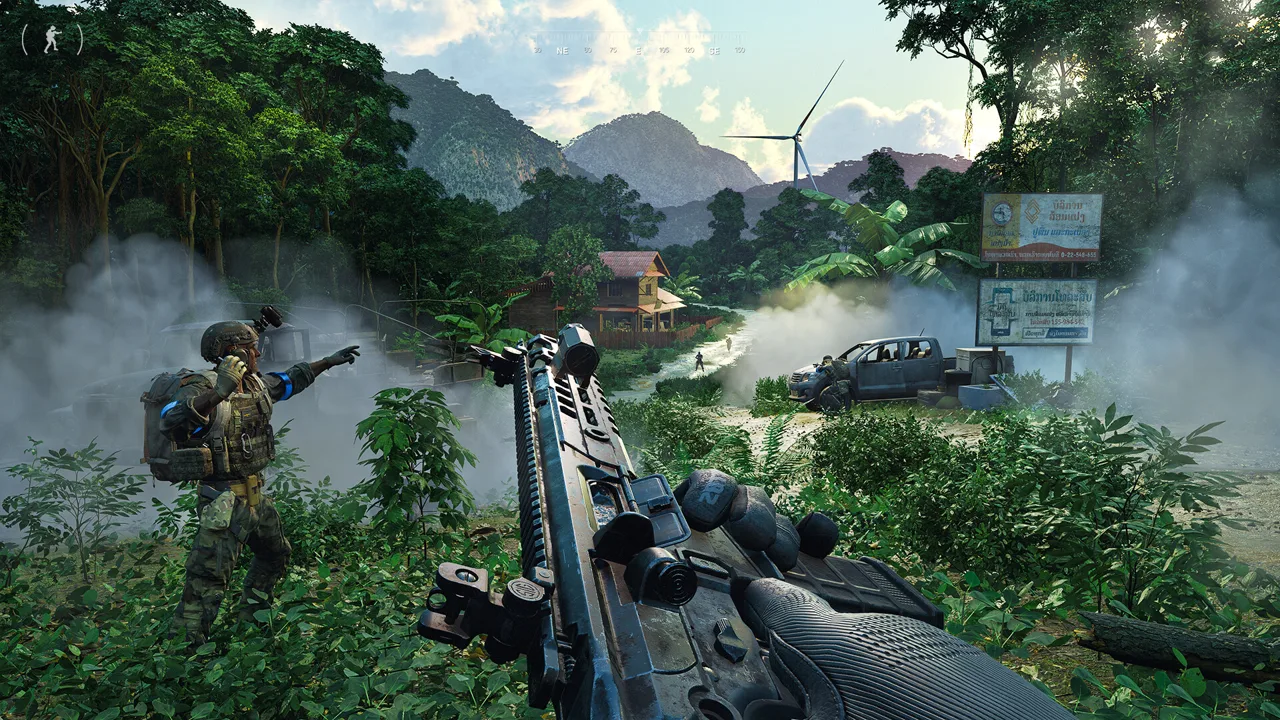 Image: Steam / MADFINGER Games, a.s.
Update 0.5 allows AI enemies to use bandages, and selected AI factions can throw grenades. Its medical overhaul also changes treatment from individual wounds to body parts.
| Update 0.5 mechanic | What changes | Preparation tip |
|---|---|---|
| AI healing | AI NPCs can use bandages | Keep watching an enemy’s position after landing a hit |
| Grenades | Selected AI factions can throw them | Leave yourself room to move when taking cover |
| Body-part treatment | Healing addresses the affected body part | Check the health panel before choosing treatment |
| Medical specialization | Supplies have more distinct uses and restrictions | Pack supplies that cover different injuries and body parts |
| Medical quality | Higher-quality supplies generally treat faster and provide more uses | Compare the supplies available before deploying |
Prepare medical supplies with the new restrictions in mind. Tourniquets cannot be applied to the head or torso in Update 0.5. Check what each item treats instead of filling your kit with several items that serve the same limited purpose.
The body-part system also changes how you assess fractures. Multiple broken bones in one leg require a single splint for that leg; fractures affecting both legs require treatment for each leg.
Use the improved health panel to identify the injury before applying supplies. Surgical kits can address broken bones, organ damage, and bleeding, while other items have narrower roles.
During the market search, keep medical treatment and navigation separate. Move somewhere protected, check your injuries, treat them, and then resume the route from the last landmark you remember.
When playing with a squad, call out whether you are at the truck, building, or shack. Concrete location names make it easier to coordinate movement while someone searches or heals.
Quest Progression and Your Final Checklist
In the Update 0.2 task chain, Business or Pleasure precedes The Stand, and Handshake’s True Grit follows it. Use that version-specific sequence when working through the older progression.
| Task | Vendor information | Position in the Update 0.2 chain |
|---|---|---|
| Business or Pleasure | — | Prerequisite to The Stand |
| The Stand | Gunny | Investigate the PMC squad |
| True Grit | Handshake | Follow-up task |
Before setting out for Gray Zone Warfare The Stand, check that you are looking at Gunny’s task and its active objective. That keeps the destination and purpose clear before you plan your trip.
At the market, use this checklist to track the physical search:
- Reach the market at 174, 157.
- Locate the squad member beside the roadside truck.
- Locate the squad member inside the building toward the back right.
- Find the shack east of the road.
- Locate both squad members inside the shack.
- Review your task status before departing.
Update 0.5 also changes the context for returning characters. Its soft wipe preserves progression from Update 0.4, including completed tasks, rank, vendor levels, unlocked apparel, and statistics, while wiping locker contents and money.
If you transferred an existing character, check your retained task progression before planning a repeat trip. When transferring that progression into Update 0.5, the choice of PvE or PvEvP mode is irreversible, and the character’s faction stays the same.
For an active Gray Zone Warfare The Stand objective, keep the search centered on the market. Establish the truck, search the nearby building, and finish by accounting for both squad members in the eastern shack.
FAQ
Where is Gray Zone Warfare The Stand located?
The Stand is associated with Pha Lang Airfield. Search the market at 174, 157, where the PMC squad members are positioned beside a truck, inside a nearby building, and inside a shack east of the road.
How many squad members do you need to find?
The location walkthrough identifies four squad members across three stops. One is beside the roadside truck, one is inside the nearby building, and two are together inside the eastern shack.
Who gives you The Stand quest?
Gunny gives you The Stand. Its objective is to uncover what happened to the PMC squad.
What comes before and after The Stand?
In the Update 0.2 task chain, Business or Pleasure is the prerequisite, and True Grit from Handshake follows The Stand.
Continue with
 Gray Zone Warfare Fire and Water Quest Guide & LocationsFinish Gray Zone Warfare Fire and Water with document locations, Gunny's rewards, death penalties, and a clear route through the burned village. Get ready.
More in Tasks
Gray Zone Warfare Helping Hand Key: Attic Loot Guide
Find the Gray Zone Warfare helping hand key, locate your starter town's restaurant, recover the attic intel, and bring it back to Handshake for rewards.
Gray Zone Warfare Like a Boss: Grin and Puzzle Guide
Finish Gray Zone Warfare like a boss with Grin's locations, 1911 C loot tips, the coordinate puzzle, and a clear briefcase route for your next quest run.
Gray Zone Warfare Reclamation Cargo Location: Full Guide
Find the Gray Zone Warfare reclamation cargo location, check faction coordinates, and follow the bedroom route to recover Handshake's Metal Container.
Join the community
Official channels for news, updates and player help: