Gray Zone Warfare Beginner Guide: Survive Rogue Ops
Use this Gray Zone Warfare beginner guide to prepare your loadout, handle injuries, build your Hideout, and survive Rogue Ops. Plan your next deployment.
Start With Your Mode, Character, and Loadout
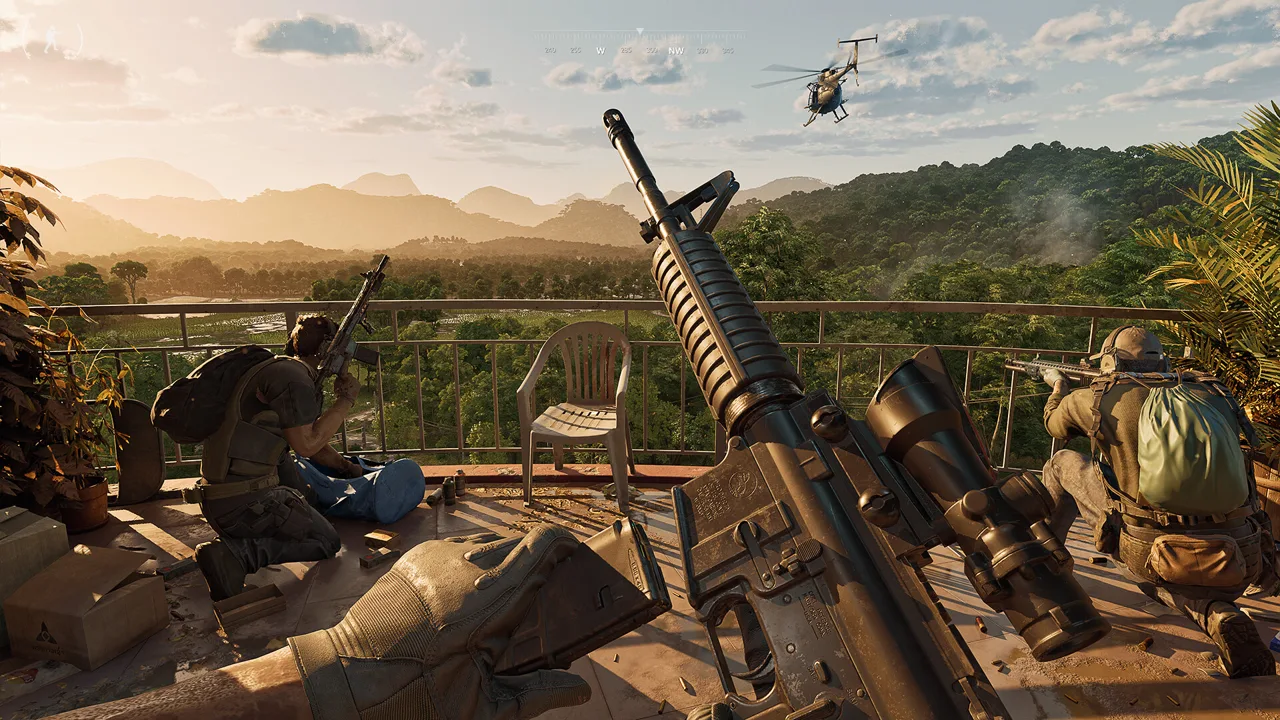
A rushed push can cost you the equipment you brought to Lamang. This Gray Zone Warfare beginner guide helps you prepare for Update 0.5: Rogue Ops, where medical changes, crafting, and tougher AI reshape your decisions. Start with the Gray Zone Warfare beginner guide essentials: choose your mode carefully, carry a complete kit, and give each deployment a clear objective.
1. Choose your mode before investing in a character
Rogue Ops separates progression between PvE and PvEvP. Each character has its own selected mode and faction, so coordinate with friends before creating the character you intend to play together.
| Mode | Combat structure | Hunting activities in Update 0.5 |
|---|---|---|
| Joint Operations | PvE | Fight regular AI enemies |
| Warfare | PvEvP | Hunters and smugglers pursue opposing objectives, creating player encounters |
Choose Joint Operations if you want to learn tasks and combat through PvE. Choose Warfare if you also want encounters with hostile players.
Your account supports up to four playable characters. You cannot create two characters with the same combination of mode and faction simultaneously, and you can delete one character per week. Plan those slots before experimenting.
Returning from Update 0.4? The 0.5 soft wipe preserves completed tasks, rank, unlocked apparel, vendor levels, and statistics, while clearing your locker and money. Transferring existing progression into a selected mode is irreversible; your faction stays the same.
2. Prepare a kit you can afford to replace
Before leaving, check what your equipment actually lets you do. A weapon without compatible ammunition or medical supplies without the right treatment leaves a dangerous gap.
| Equipment | Preparation check |
|---|---|
| Primary weapon | Check its ammunition and firing mode |
| Magazines and spare ammunition | Match them to the weapon you are carrying |
| Armor and helmet | Equip them before heading out |
| Medical supplies | Cover bleeding, fractures, and serious injuries |
| Backpack | Leave room for task items and useful materials |
| Food and water | Bring provisions and monitor your condition |
Keep replacement equipment in your locker between deployments. Avoid carrying every valuable item you own into the same fight.
Treat this Gray Zone Warfare beginner guide as a preparation checklist: finish equipping your character before deciding what extra loot you hope to bring home.
Official page: Gray Zone Warfare (grayzonewarfare.com)
Gray Zone Warfare Beginner Guide: Combat Basics
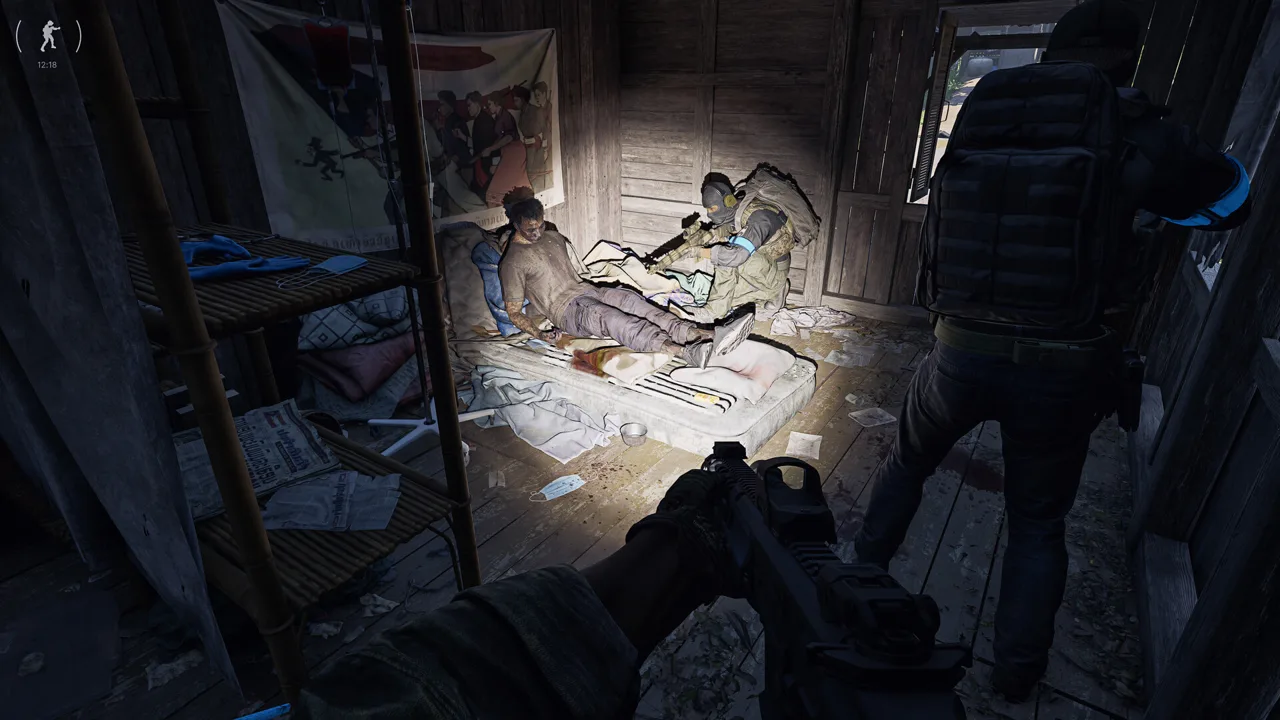 Image: Steam / MADFINGER Games, a.s.
3. Observe before entering a fight
Stop outside an unfamiliar area and inspect the approaches. Look for enemies, cover, and positions that expose you to several directions at once.
Move between cover deliberately. Before stepping into an open space, identify where you intend to stop. Sprinting until contact leaves you reacting to the terrain while someone else is already shooting.
Manage stamina during the approach. Exhaustion can interfere with your aim, so ease off before entering a likely engagement. Keep food and water levels maintained rather than waiting until your overall condition suffers.
When playing with a squad, communicate movement and injuries. Identify where teammates are positioned before changing angles or opening fire.
4. Adjust to Rogue Ops AI
Update 0.5 gives AI enemies additional ways to survive and pressure you. All AI NPCs can use bandages, while selected factions can throw grenades.
Do not assume a wounded enemy will remain weakened indefinitely. Maintain awareness after landing hits, and check the situation before leaving cover to loot.
Avoid staying crowded together when fighting grenade-capable enemies. Leave yourself room to move, and choose cover with an exit.
Some locations tied to the new activities also have higher AI respawn rates. Keep moving toward your objective instead of treating a cleared approach as permanently safe.
5. Learn a weapon before chasing rare replacements
Rogue Ops adds seven weapons: AUG, including AUG A3, Benelli M4, G3, G36, FAMAS, UMP, and Glock 18C. Most of these new firearms are found in the world rather than purchased from vendors.
Practice with a familiar setup before spending heavily on customization. Check your firing mode, conserve ammunition, and avoid swapping weapons simply because something unfamiliar looks exciting.
Ammunition also deserves attention. In 0.5, SP and HP rounds produce larger wounds than FMJ and AP ammunition. Keep that distinction in mind without assuming every ammunition type performs identically.
Learn the Updated Medical System
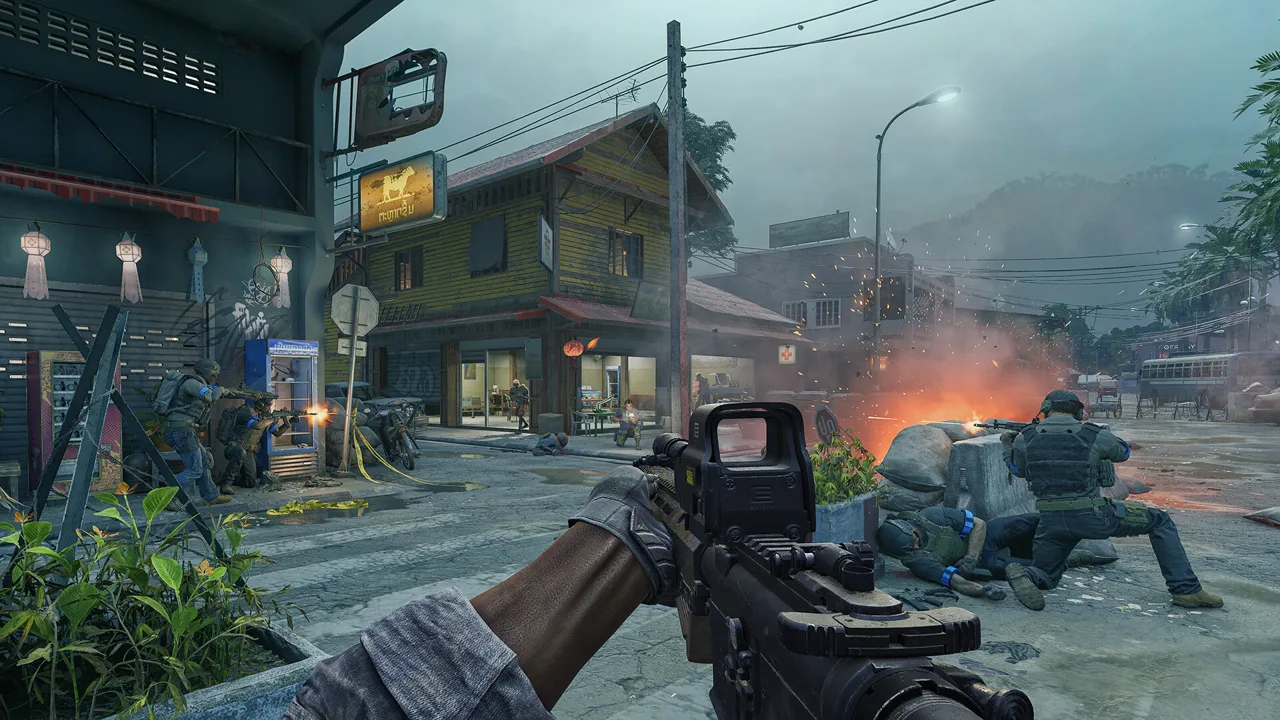 Image: Steam / MADFINGER Games, a.s.
6. Read the health panel before choosing treatment
The medical priority in this Gray Zone Warfare beginner guide is matching treatment to the injured body part. Update 0.5 handles healing by body part rather than requiring separate treatment for every individual wound.
For example, one splint treats multiple broken bones in the same leg. If both legs are broken, each leg requires its own splint.
| Medical change | What it means during treatment |
|---|---|
| Treatment applies by body part | Multiple fractures in one leg can be treated with one splint |
| Tourniquets have placement restrictions | They cannot treat the head or torso |
| Surgical kits treat multiple conditions | They can address broken bones, organ damage, and bleeding |
| Higher-quality supplies offer improved treatment | Military-grade items generally work faster and provide more uses |
| Blood bags and bottles use volume measurements | Your character consumes the amount needed |
Use the updated health panel to identify injuries and the appropriate treatment. Check it again after healing instead of assuming one action resolved everything.
Read medical item descriptions while preparing your kit. Supplies differ more clearly in specialization and quality now, so several items with similar appearances can serve different purposes.
Do not build your medical plan around buying stims. They are no longer sold by vendors and must be obtained through other means, including crafting.
Carry treatment for different injury types rather than filling your available space with a single familiar item. Once injured, reach cover before opening menus whenever the situation allows.
Gray Zone Warfare Beginner Guide: Resource Planning
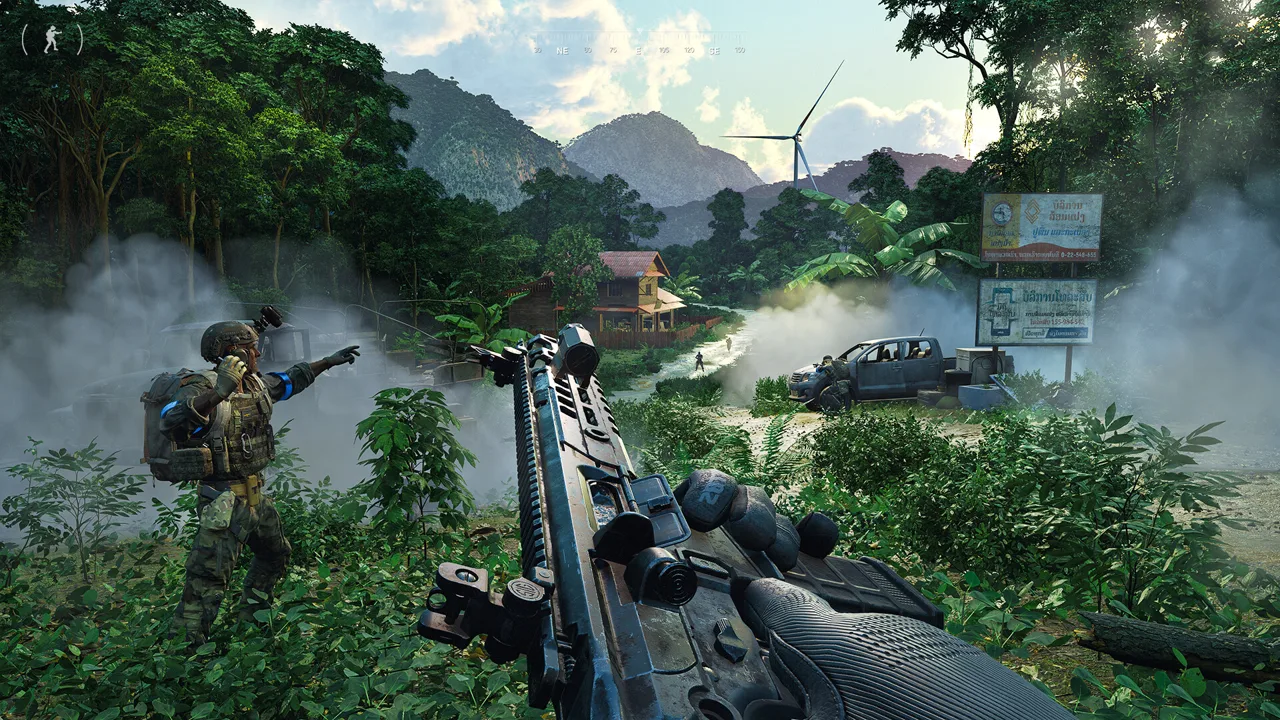 Image: Steam / MADFINGER Games, a.s.
7. Give each deployment a specific objective
The core progression loop still includes completing tasks, fighting enemies, gathering loot, and earning vendor reputation to access better equipment and supplies.
Choose a manageable objective before heading out. Read the task requirements, identify what you need to bring back, and leave backpack space for it.
Combine objectives only when they fit the same trip. If your task requires a particular item, prioritize securing that item over collecting unrelated equipment.
Update 0.5 reduces high-value loot spawns and adjusts loot distribution to better match locations. Avoid budgeting around repeatedly finding expensive items. Keep spending tied to what you can replace and the objectives you are pursuing.
8. Check Hideout requirements before selling materials
Rogue Ops adds a second progression loop built around the Hideout, crafting, and smuggling. Loot now has uses beyond its sale value.
The Hideout contains three rooms, each with three upgrade levels in its initial 0.5 implementation.
| Room | Function | Related resources or requirements |
|---|---|---|
| Laboratory | Produces specialized substances, including medical products and drugs | Specialized equipment, components, and production ingredients |
| Electronics Workshop | Disassembles, modifies, and assembles mechanical and electronic components | Devices, components, and unlocked crafting recipes |
| Utility Room | Supplies electricity for equipment and other rooms | Power infrastructure supporting Hideout operations |
Check your next construction or crafting requirement before clearing out your inventory. Keep materials that serve an immediate project, and avoid buying components without knowing what you need them for.
The Laboratory requires expensive, specialized equipment. Build toward it while preserving enough equipment and supplies for regular deployments.
Crafting recipes must be unlocked before you can produce their items. Crafting itself is almost instantaneous, but production and disassembly take longer. Account for those differences when preparing supplies.
The Electronics Workshop can produce hacking tools in three tiers. These tools bypass electronic locks and provide access to restricted areas. Tracking Tags and Stims also require crafting instead of vendor purchases.
Avoid Expensive Early Mistakes
9. Learn the route before accepting a smuggling contract
Smuggling adds a timed delivery objective with clear failure conditions. Prepare before accepting the contract, especially if the destination takes you through unfamiliar territory.
The process works like this:
- Gather the required resources and contraband.
- Hand the contraband to the corresponding vendor.
- Use the marked map location to collect the smuggling backpack.
- Transport the shipment to the designated smuggling zone.
- Deposit it before the one-hour contract timer expires.
The timer begins when the contract is accepted. The contract fails if you die, run out of time, or place the smuggling backpack in another player’s stash.
The backpack is visibly identifiable. In Warfare, hunters have opposing objectives, making the shipment a potential focus for PvP. Review the destination and prepare your equipment before committing.
Vendor relationships matter here, too. Actions associated with the new activities can improve or damage reputation with the respective vendors. Read the contract rather than choosing solely by its immediate payout.
10. Leave advanced locations for a prepared deployment
Rogue Ops introduces three Tier 4 points of interest: Lakevale Sanctuary, Northern Reach, and RLSL-1. These locations feature high-difficulty enemies, and Tier 3 areas also receive increased AI difficulty.
Build familiarity with your equipment and medical supplies before heading into those areas. Bring a clear objective and enough resources to support the trip.
Pay attention while exploring smaller locations as well. Update 0.5 adds traps and environmental puzzles throughout Lamang. Inspect unfamiliar spaces before rushing toward an item or doorway.
Avoid relying on older vendor routines. Vulture is now available through the standard vendor screen rather than being tied to Combat Outposts.
Use this Gray Zone Warfare beginner guide before each deployment: check your task, weapon, ammunition, medical coverage, and available backpack space. Head home when the objective is complete or your supplies no longer support another fight.
FAQ
What should I do first in this Gray Zone Warfare beginner guide?
Choose your character’s mode and faction, coordinate with friends, and prepare a complete loadout. Then select a manageable task and focus on completing it while learning movement, combat, and treatment.
Can I play Gray Zone Warfare solo?
Yes. You can deploy alone or with a squad. When playing solo, choose objectives you can manage independently and avoid extending a trip after your medical supplies or ammunition run low.
Can I buy Stims and Tracking Tags from vendors in Update 0.5?
No. Stims and Tracking Tags are no longer available from vendors and must be crafted. Stims can also be obtained through other means.
How does healing work in Rogue Ops?
Healing applies to body parts rather than individual wounds. One splint can resolve multiple fractures in the same leg, but injuries affecting both legs require separate treatment. Use the health panel to select supplies appropriate for each injury.
Continue with
 Gray Zone Warfare Best Faction: Choose Your PMC in 0.5Find the Gray Zone Warfare best faction for your squad in Update 0.5. Compare three PMCs, character limits, and mode choices before you deploy to Lamang.
More in Guides
Gray Zone Warfare Invite Friends: Squad Setup Guide
Gray Zone Warfare invite friends guide: learn squad setup, match factions and modes in Update 0.5, join deployed teammates, and troubleshoot invite issues.
Gray Zone Warfare PvE Guide: Modes, Progression & Tips
Explore Gray Zone Warfare PvE in Rogue Ops 0.5, including Joint Operations, separate progression, Hideout crafting, healing, and practical survival tips.
Continue exploring

Gray Zone Warfare Map: Rogue Ops Locations and Tips
Explore the Gray Zone Warfare map with Rogue Ops locations, Tier 4 threats, smuggling rules, and practical route tips. Plan your next trip across Lamang.

Gray Zone Warfare Blueprints: Unlocks and Locations
Find Gray Zone Warfare blueprints, explore nine magazine locations, and understand weapon unlocks, Hideout crafting, and progression changes in Rogue Ops.
Join the community
Official channels for news, updates and player help: